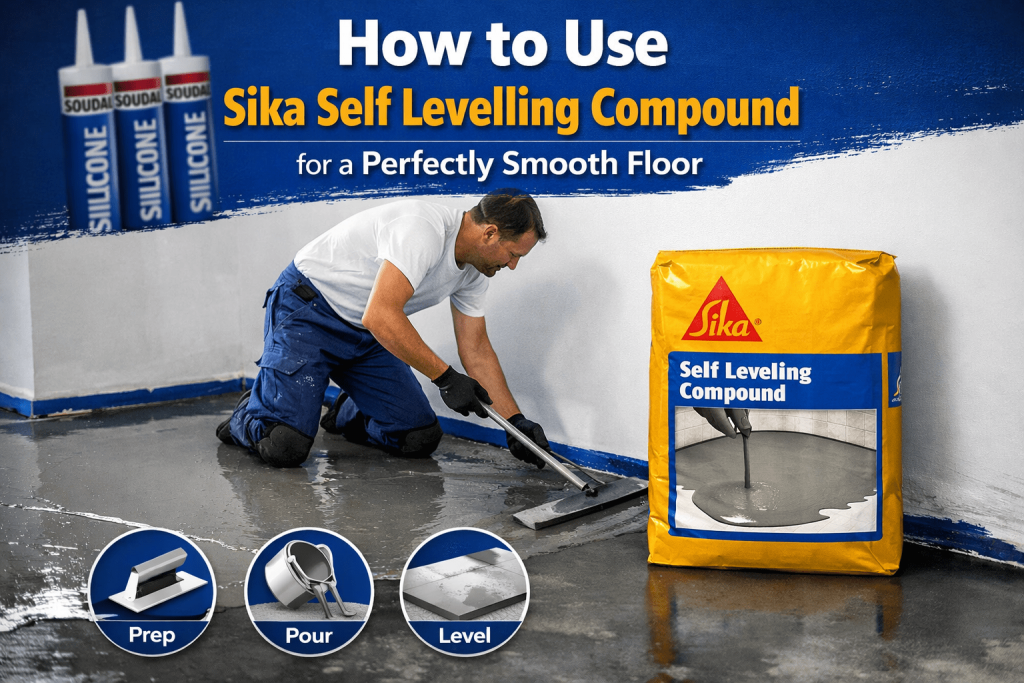
How to Use Sika Self Levelling Compound for a Perfectly Smooth Floor
If you’ve ever laid vinyl, laminate, carpet tiles or engineered wood, you’ll know one truth: your finish is only as good as your subfloor.
Even the most expensive flooring can look terrible over dips, cracks, or uneven patches. That’s where Sika Self Levelling compound becomes your best friend.
Whether you’re renovating a single room, preparing a commercial space, or just fixing an uneven concrete floor in your home, this guide will walk you through everything you need to know — clearly, practically, and without the usual trade jargon.
What Is Sika Self Levelling Compound?
Sika Self Levelling is a high-performance cement-based compound designed to create a smooth, flat surface over concrete or screed before installing floor coverings.
It flows easily, fills low spots, and levels itself (within reason — it’s clever, but not magic). It’s widely trusted by contractors across the UK because it’s:
- Reliable
- Easy to mix and apply
- Fast drying
- Compatible with underfloor heating
- Suitable for domestic and commercial use
When Should You Use Sika Self Levelling?
You’ll typically use it when:
- Your concrete floor has dips or uneven areas
- Old adhesive residue has left imperfections
- You’re preparing for vinyl, LVT, laminate, carpet, or tiles
- You’ve installed underfloor heating
- You need a smoother base before applying Sika Sealants along expansion joints
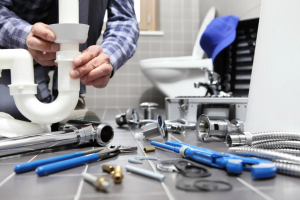
Tools & Materials You’ll Need
Before you start, get everything ready. Once mixed, the compound works on a time limit.
You’ll need:
- Sika Self Levelling compound
- Clean mixing bucket
- Electric drill with paddle mixer
- Measuring jug for water
- Steel trowel or smoothing tool
- Spiked roller (for best finish)
- Floor primer (if required)
- Protective gloves
Step-by-Step: How to Apply Sika Self Levelling Properly
Step 1: Prepare the Surface (This Is Crucial)
If there’s one area people rush — and regret — it’s prep.
Make sure the floor is:
- Clean
- Dust-free
- Free from oil or grease
- Structurally sound
Vacuum thoroughly. Remove loose debris. If the surface is very porous, apply the recommended primer and allow it to dry.
Step 2: Mix It Correctly
Always follow the water ratio on the packaging.
Add water first, then gradually pour in the powder while mixing with your paddle drill. Mix for around 2–3 minutes until smooth and lump-free.
The consistency should be similar to thick cream — fluid but not watery.
Overwatering weakens the compound. Underwatering affects flow.
Get this right, and everything else becomes easier.
Step 3: Pour & Spread
Once mixed, pour the compound onto the floor immediately.
Start at the far corner and work your way backwards towards the exit. Use a trowel to gently guide the flow into corners and low spots.
It will begin levelling itself naturally.
Don’t overwork it. Let it do what it’s designed to do.
Step 4: Use a Spiked Roller (Professional Tip)
For a truly smooth finish, use a spiked roller.
This helps:
- Remove trapped air
- Improve flow
- Create a flatter surface
- Reduce visible trowel marks
This step separates a “DIY-looking job” from a “trade-quality finish”.
Step 5: Drying Time
Most Sika Self Levelling products are walkable within a few hours (check the specific product guidelines).
However, before laying flooring:
- Light coverings: 24 hours
- Thicker layers: May require longer
Never rush this stage. Moisture trapped beneath flooring leads to failure later.
Common Mistakes to Avoid
Even experienced DIYers can make these errors:
❌ Skipping primer
This can cause bubbling or poor adhesion.
❌ Mixing too much at once
It sets quickly. Work in manageable batches.
❌ Applying too thin or too thick
Follow manufacturer thickness guidelines.
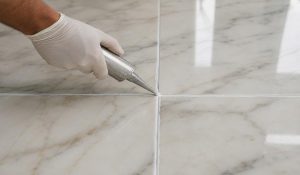
❌ Poor edge finishing
Plan expansion gaps where necessary and use quality Sika Sealants to protect edges.
Can You Use Sika Self Levelling Over Underfloor Heating?
Yes — and it’s commonly done in UK homes.
Just ensure:
- Heating is turned off before application
- Pipes are properly secured
- The system is gradually brought back up to temperature after curing
Sudden heat can cause cracking.
How Much Do You Need?
Coverage depends on thickness.
As a general guide:
- 1 bag covers approx. 4–5m² at 3mm thickness
Always calculate slightly over your requirement to avoid running short mid-job.
Why Professionals Choose Sika
There are plenty of levelling compounds on the market, but Sika stands out because of:
- Consistent product quality
- Strong bonding performance
- Compatibility with modern flooring systems
- Trusted reputation in UK construction
When tradespeople repeatedly choose the same brand, it’s usually for a reason.
Where to Buy Genuine Sika Self Levelling Products
When purchasing construction materials, authenticity matters.
Using low-quality or counterfeit products can result in cracking, delamination, or uneven finishes — costing you far more in the long run.
For genuine Sika Self Levelling solutions, it’s always best to buy from an established supplier specialising in trade-grade materials.
Final Thoughts: Is Sika Self Levelling Worth It?
Absolutely — if you care about the final result.
A smooth, level floor doesn’t just look better. It:
- Extends flooring lifespan
- Prevents movement and noise
- Reduces wear and tear
- Improves overall installation quality
In flooring projects, preparation is everything. And Sika Self Levelling gives you the kind of professional foundation that makes every top layer look flawless.
If you’re planning your next project and want materials you can trust, take a look at the full Sika range available at Dortech Direct — your reliable source for trade-quality products across the UK.