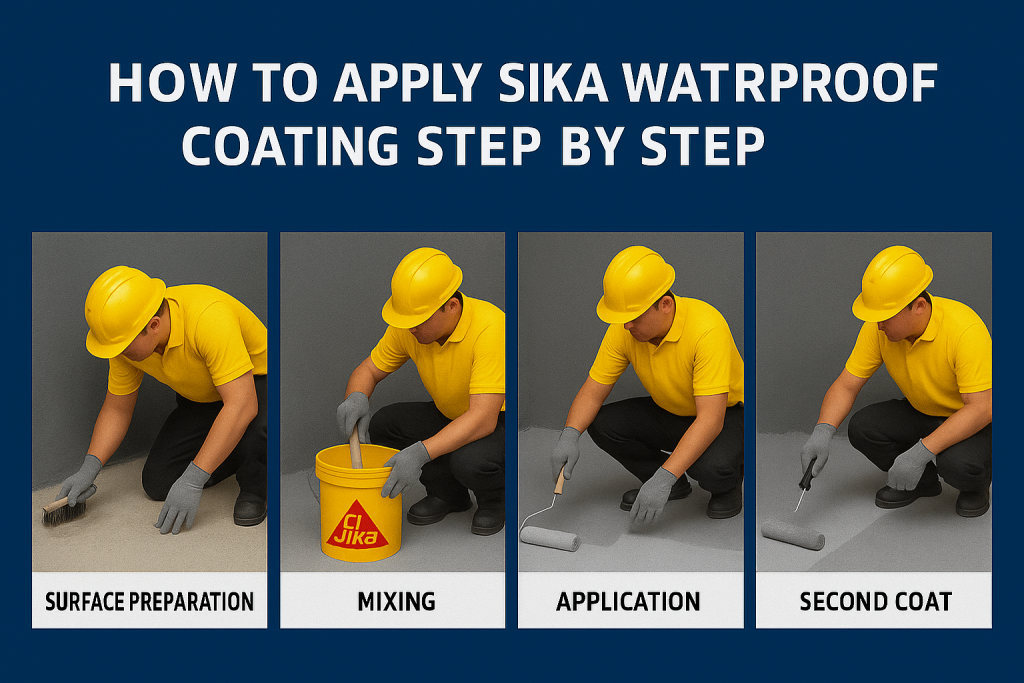
How to Apply Sika Waterproof Coating Step by Step?

Introduction
Proper waterproofing of a surface is essential to avoid leaks, dampness, and long-term damage. A trusted method is applying Sika waterproof coating, usually along with sikaflex waterproof sealant or other Sika sealants to manage joints and cracks. Here in this guide, we will take you through the application of a Sika waterproof coating, from preparation to finishing, in a simple, easy-to-use manner.
Why Choose Sika Waterproof Products?
- Sika provides various waterproofing systems and coatings for concrete, masonry, walls, basements, roofs, balconies, and others.
- Their coatings are made to bond well, offer crack bridging, and provide long-term protection.
- For expansion gaps or joints, the use of a sikaflex waterproof sealant or sika waterproofing sealant provides total continuity of the water barrier.
Things to Know Before You Start
- Ensure that you are using the proper Sika waterproof coating product for your surface (e.g. Sika Damp Proofing Slurry, Sika Raintite, Sikalastic series, etc.).
- Read the product’s technical datasheet and safety datasheet prior to commencing.
- Work in manufacturer-recommended temperatures and conditions (typically somewhere between +5 °C and +35 °C).
- Ensure good ventilation and safety equipment (gloves, goggles, mask).
Step-by-Step Guide to Applying Sika Waterproof Coating
Here’s a simple procedure you can use. The precise steps may differ slightly depending on which Sika product you select, but the principles remain the same.
1. Surface Inspection & Repair
- Check over the surface you intend to waterproof. Look for honeycombing, cracks, loose mortar, flaking paint, or dirt.
- Repair any structural imperfections and let them cure.
- Clean the surface thoroughly: dust, grease, oil, old paint coatings, loose debris.
- For concrete surfaces, shot blasting, grinding, or acid etching can be required to “open up” the surface at times.
- For cracks, expansion lines, or joints, prep to seal them with sikaflex waterproof sealant or an appropriate Sika joint sealant prior to coating. This provides continuity of waterproof barrier.
2. Pre-wet / Saturated Surface Dry (SSD)
- Some Sika systems ask for the substrate to be dampened (not wet) prior to coating, with the aim of attaining a saturated surface dry (SSD) state.
- This avoids premature drying or adhesion issues.
3. Primer (if needed)
- A primer can be indicated depending on the Sika coating and substrate.
- The primer facilitates adhesion and closes off excessively porous surfaces.
- Apply the primer according to the product instructions (normally roller, brush or spray).
4. First Coat of Waterproofing
- Mix Sika waterproof coating as directed (e.g. with the right water ratio if it’s a slurry, or stir well if it’s a single-component liquid)
- Apply an even, smooth first coat by brush, roller, squeegee or trowel as necessary for the product.
- Ensure good coverage of corners, edges, and detail areas.
5. Embed Reinforcement (if required)
- In certain waterproofing systems (particularly where weak areas or detail transitions exist), you might incorporate a fiber mesh or reinforcement fabric when the base coat is wet.
- Overlap neighboring strips of mesh by a specified width (usually 50 mm) to provide continuity.
- Smooth the bubbles and air pockets out.
6. Second Coat & Additional Coats
- After the first coat is dry/sticky (refer to manufacturer’s waiting time), put on a second coat at right angles to the first coat to give even coverage.
- Where additional protection or thickness is required, you might require a third coat or additional coatings as directed.
- Make each coat pinhole-free and unbroken (gaps or interruptions).
7. Detailing & Joint Treatment
- At joints of expansion, penetration points (cables, pipes), corners, and transitions, use detailing coats.
- For wider cracks or joints, seal them initially with sika waterproofing sealant or sikaflex waterproof sealant, and subsequently overcoated with the waterproof coating.
- Ensure to extend the waterproofing layer outside the joint or crack edges by a safe distance (e.g. 2–3 inches) for overlap and firm adhesion.
8. Curing & Protection
- Let the coating dry or cure according to manufacturer instructions (usually 16–24 hours or longer) between applications.
- Don’t expose to direct sunlight, UV or heavy rain during curing period.
- Following complete cure, some systems need flood testing (i.e. ponding water) to ensure there is no leakage. For instance, Sika’s Sikalastic®-320 NS system recommends flood testing with 2 in. head of water for 24 hours.
- Once the test is passed, protect the waterproofed surface from damage (e.g., with drainage mats, tiles, screeds, or protective boards) if subsequent trades will work over it.
Tips & Best Practices
- Always maintain wet edges when applying coats, to avoid lap marks or weak spots.
- Use consistent thickness per coat (don’t over-apply in one spot) to avoid sagging or runs.
- Work methodically from one area to the next, not skipping zones.
- Pay extra attention to penetrations, corners, internal angles, and joints — these are common weak spots.
- Clean your tools immediately after use (before the coating cures) using recommended solvents or water (as per product).
- If more than the allowable time passes between coats, the surface may need to be cleaned or re-primed before re-coating.
Example (Hypothetical) Scenario: Waterproofing a Balcony Deck
Let’s say you’re waterproofing a small balcony deck:
- Clean concrete deck: dust off, seal cracks, make surface sound.
- Pre-wet surface to saturated surface dry (SSD).
- Primer coat if your Sika product needs it.
- First coat: brush or roll on even layer of Sika waterproof coating.
- While still wet, set fiber mesh over joints and edges.
- Second coat after first coat hardens, apply in a crosswise direction.
- Detail around edges, corners, drainage outlets, and expansion joints with sikaflex waterproof sealant and overcoat.
- Leave to full cure, carry out flood test (if required), then cover the membrane with screed or tile floor coverings.
Why Use Sika Waterproof + Sikaflex Sealants?
- Sika systems are designed to be compatible (coatings, membranes, sealants, structural waterproofing).
- Applying sikaflex waterproof sealant or sika waterproofing sealant to joints provides a smooth, continuous waterproof barrier with flexibility where necessary.
- The use of sika waterproof coating in addition to sealant provides you with a much better system than the use of coating by itself.
Recap
- Begin with a clean, sound, prepared surface.
- Seal cracks and joints with sikaflex waterproof sealant or a Sika joint sealant.
- Apply primer if needed.
- Apply the first coat of sika waterproof coating, embed reinforcement if necessary.
- Apply second (and any additional) coats, with coverage and thickness.
- Cure, test (if necessary), and protect the membrane.
- When well executed, the system provides long-lasting waterproof protection.
If you purchase your Sika waterproofing products from Dortech Direct you will have access to the correct products and technical assistance to ensure your project goes well.


