The Ultimate Guide to Deck Sanding: Tips for a Smooth Finish
A well-preserved timber deck can entirely change your outdoors area that gives it a warm, personal touch, and worthiness of your house. With time however, your deck may have been worn down by the harsher sun, rain, and foot traffic of Australia leaving it dull, splintered, or uneven. It is at this point that deck sanding enters into the picture–a very important thing to do to get your timbers back to nature and to make them last a lot longer before they end up in the rubbish heap.
Why Sanding Your Deck Matters
The sanding process is used to remove an old and rough surface of timber, and makes a clean surface on which a new layer of stain or sealant can stick. This is not only enhancing the appearance but also safeguarding the wood by moisture, UV rays and overall wear. A new deck is easy on the feet, lessened splinters, and improves the natural appearance of the grain.
Leaving sanding prior to refinishing may result in uneven staining and non-adhesive properties; that is, the protective coating will not last long.
Preparing Your Deck for Sanding
You have to empty your deck first-empty it of furniture and pots, and rubbish. Look and nail or screws that have come out, and beat them back in so as not to smash up the sander. Once the dust and dirt are swept or sprayed off, then leave the surface to air dry.
Check your deck, make sure that you replace the boards or repair them first in case the boards are broken, rotten, or unsteady. Sanding should also not be applied on timber that is not solid and dry as this will not be effective.
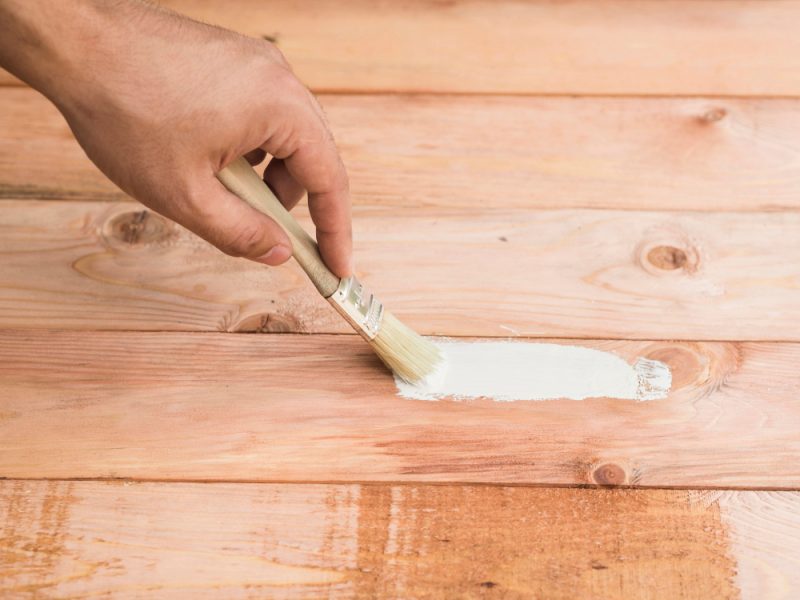
Tools and Techniques
A floor sander will provide the best results when used on larger decks. Sandpaper of about 40-60 grit is used to take away old finishes, and then the fine grit of about 80-120 grit is used to get a smooth finish. Scratches should be avoided and the sander must move across the grain of the wood and never across the grain.
On edges and corners, a hand sander or block of sandpaper will be used to give it a uniform appearance. Continue to move the sander, do not gouge or leave him lumpy. After sanding it, you must sweep or vacuum all the dust then sealant or stain you want to apply.
Knowing When Your Deck Needs Attention
The time to do some maintenance can be a puzzle to you, so perhaps you should read 5 signs your timber deck needs sanding and refinishing. Being able to notice the problem of fading colour, uneven appearance or peeling stain will allow you to take action before you have to spend a lot of money repairing your product or appliance.
Final Thoughts
The process of deck sanding or staining might appear to be a heavy burden but the end results are well in reward. It is beautiful, enhances security and increases the life cycle of your outdoors. When properly prepared, equipped and finished, you can do it in a professional quality that will restore your timber deck to life, smooth, strong, and able to be used for many years to enjoy.